Create multivariate test

To start, go to the A/B/N Tests tab and click the New Test button to proceed.
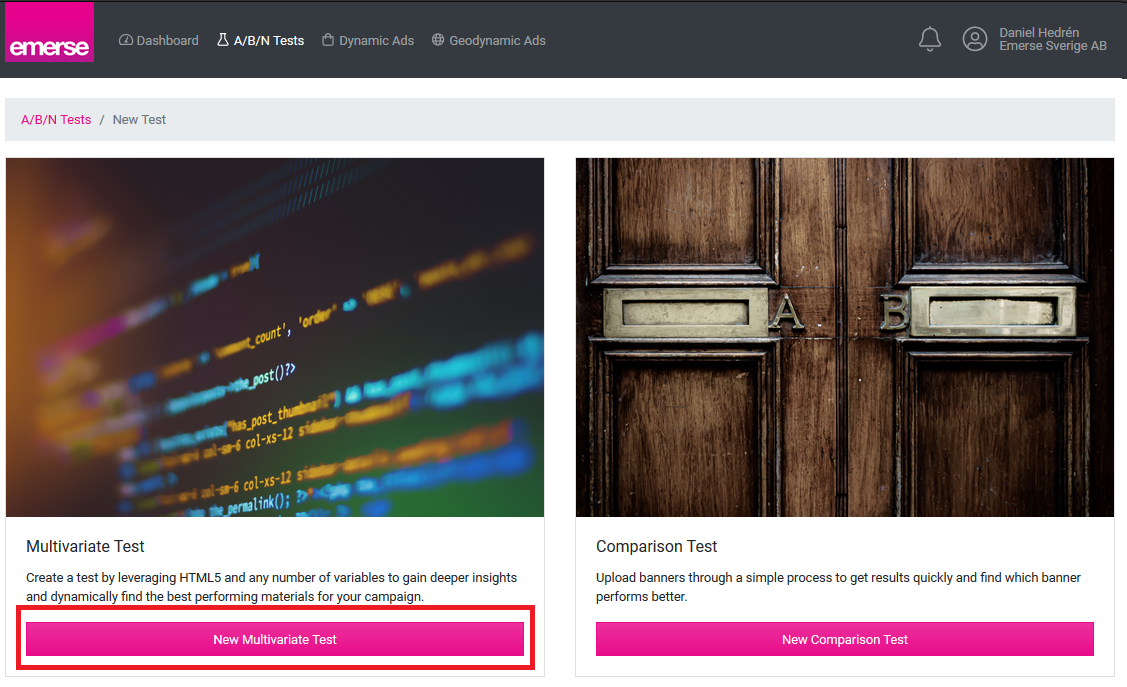
You will be given the choice between creating a multivariate or a comparison test.
Click New Multivariate Test to proceed.
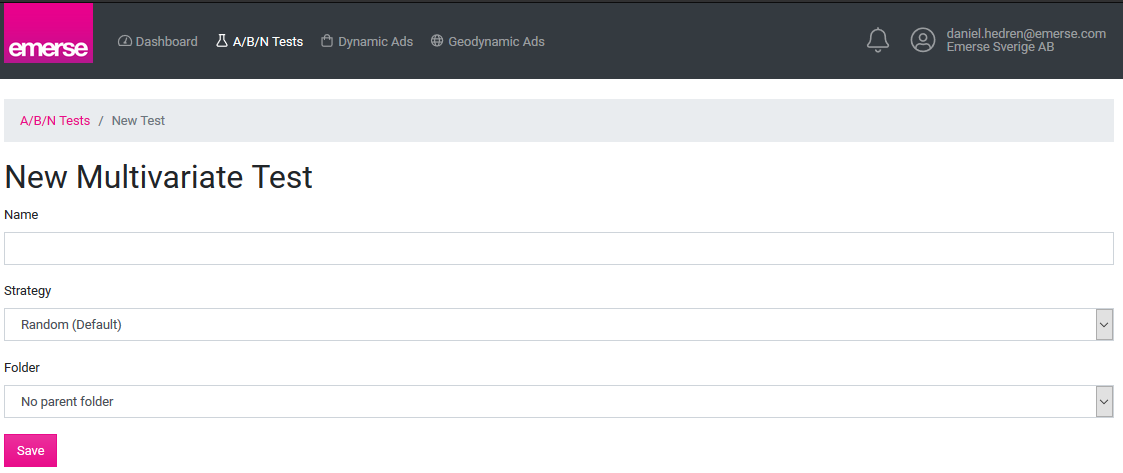
At this point you have to enter a name for your test. You can set the strategy to either Random or ML Optimized. The Folder can be used to segment your tests in the user interface if you find that they are getting hard to keep track of. It is probably a safe bet to keep the default folder for now.
You will never be locked out from altering these settings. You are free to change the strategy even after launching a test, for example.
Click Save to proceed.
Strategies
Additional information about strategies is available here.
Add a variable#
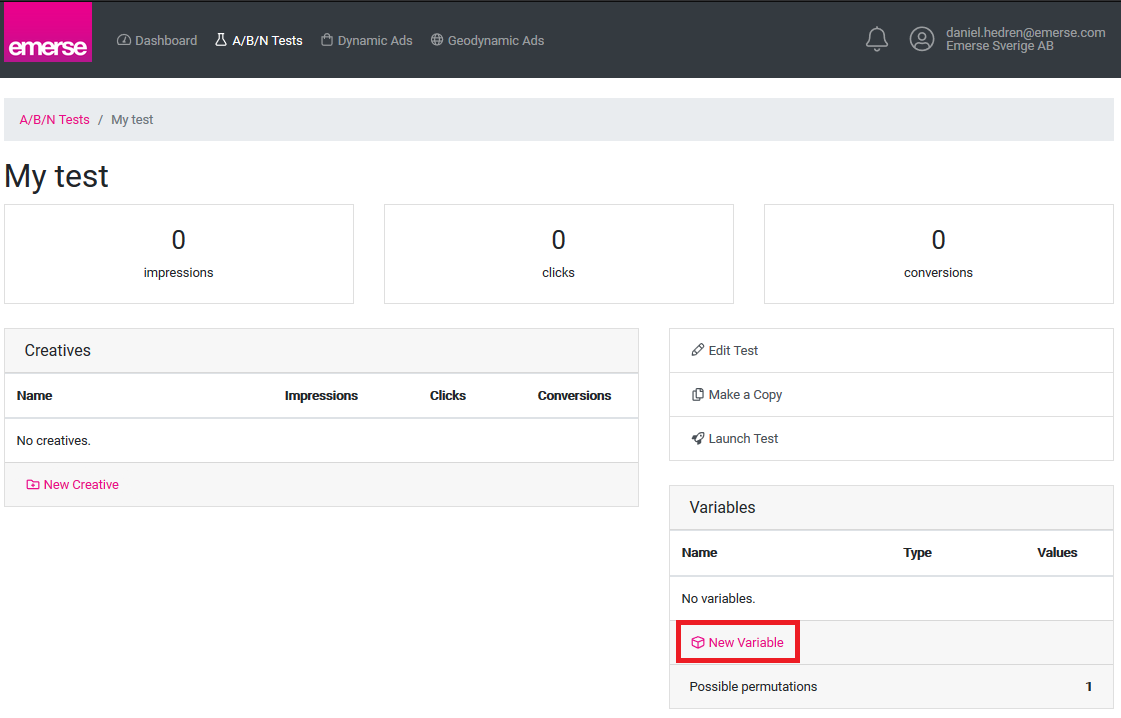
This is the overview from which you are able to add creatives and variables, and check on the tests progress. Now, you will add the first variable.
Click New Variable to proceed.
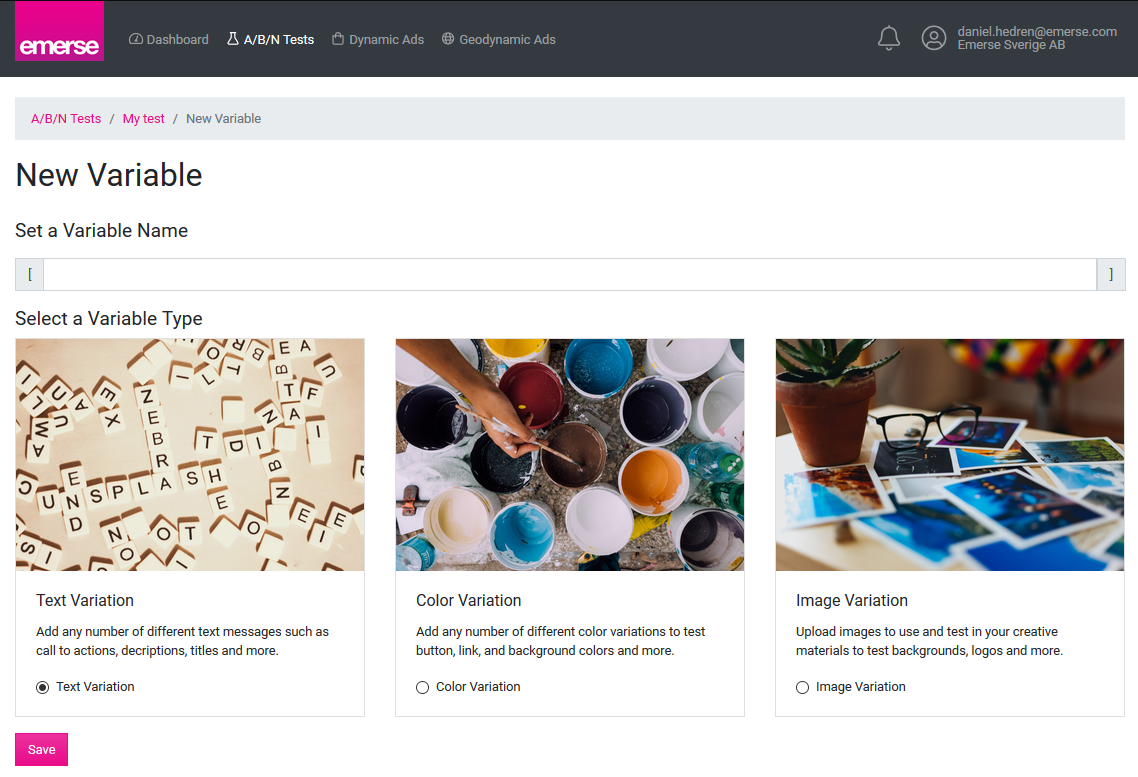
This is where you will give the variable a name and a type. For the purposes of this guide we will be creating a Text variable named my_var.
Click Save to proceed.
Variables
Additional information about variables is available here.
Add values#
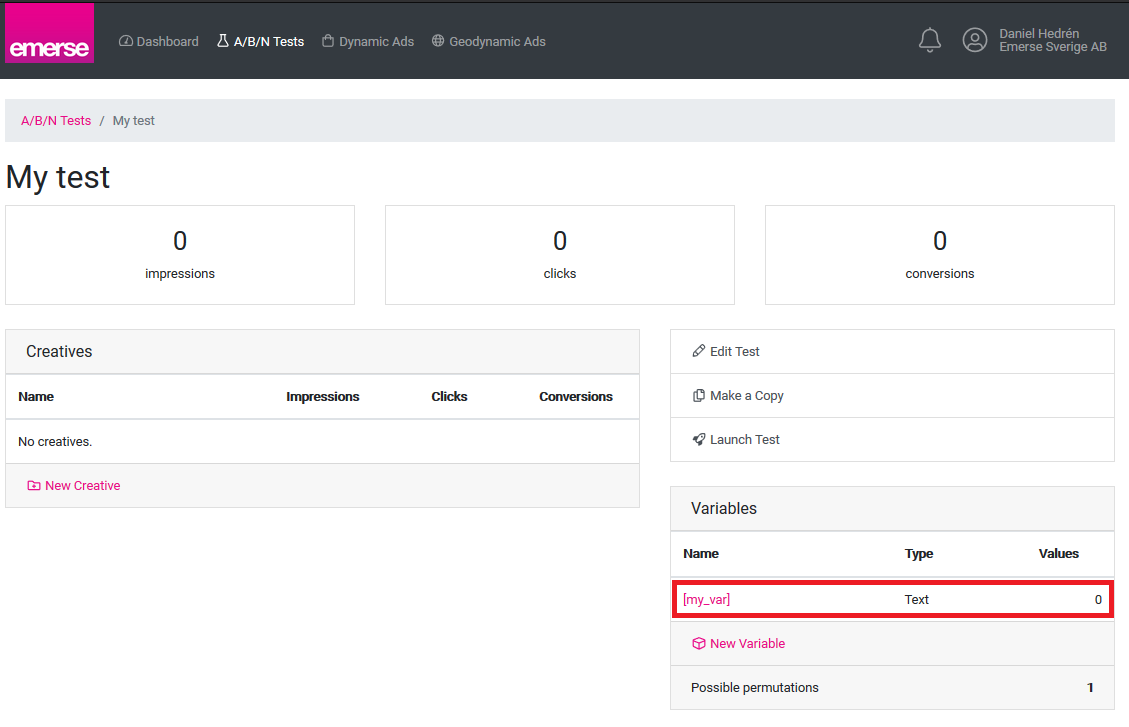
Back at the test overview we can see that the variable has been added to the test. All the tests' variables will be displayed here.
Click the variable name, here [my var], to proceed.
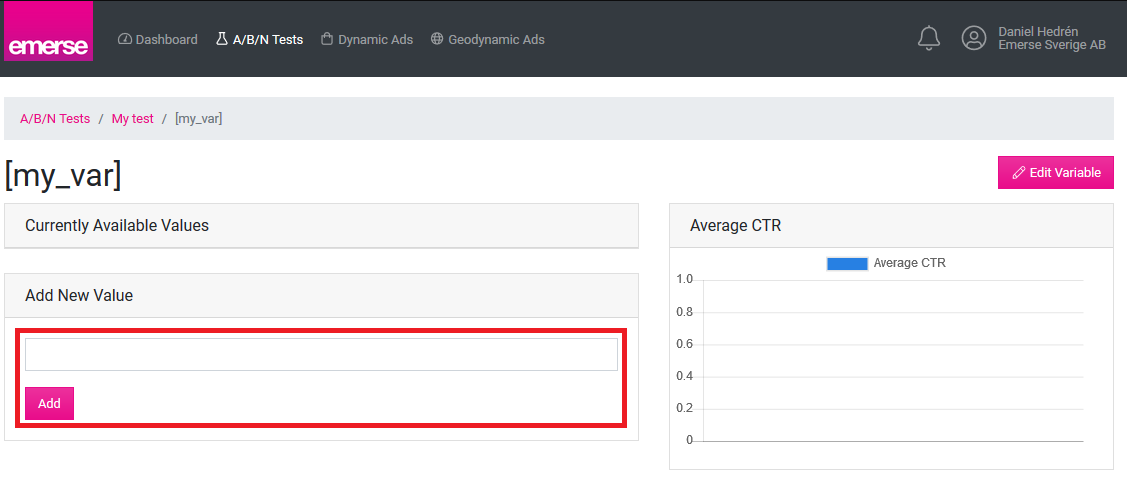
This is where you add values to your variable. It will look slightly different depending on the variable type. You can change the name and type of the variable by clicking the Edit Variable link.
Add a few values by entering them in textbox and clicking Add.
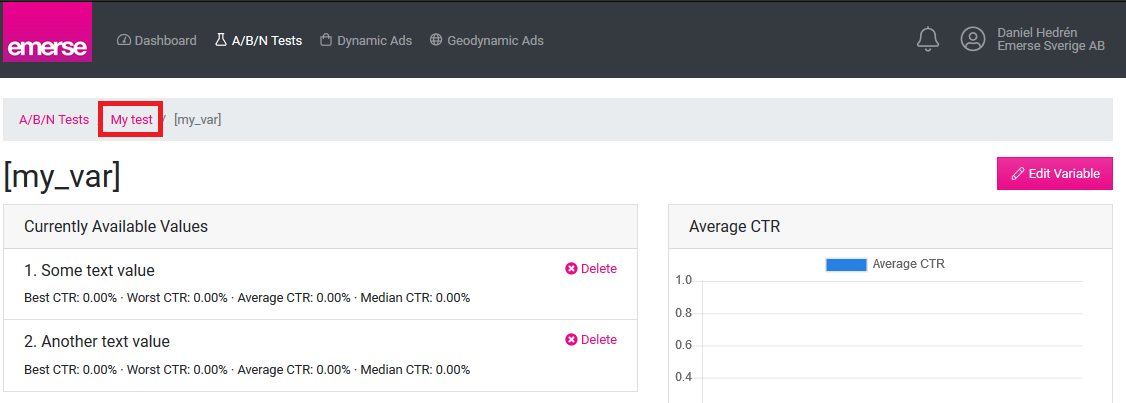
When you are satisified, click the tests name in the breadcrumbs to head back to the test overview.
Add a creative#
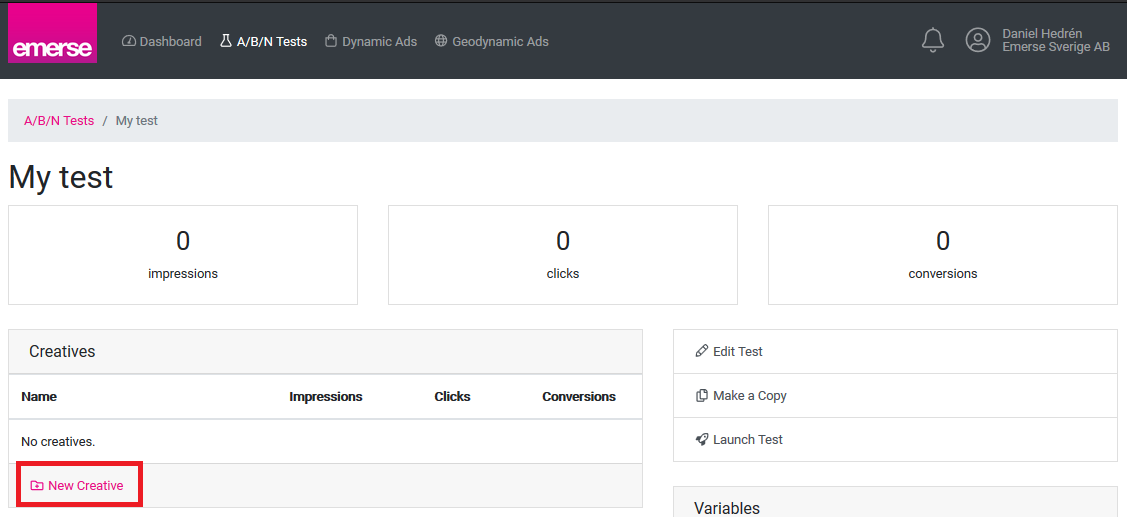
At the test overview, click New Creative to proceed.
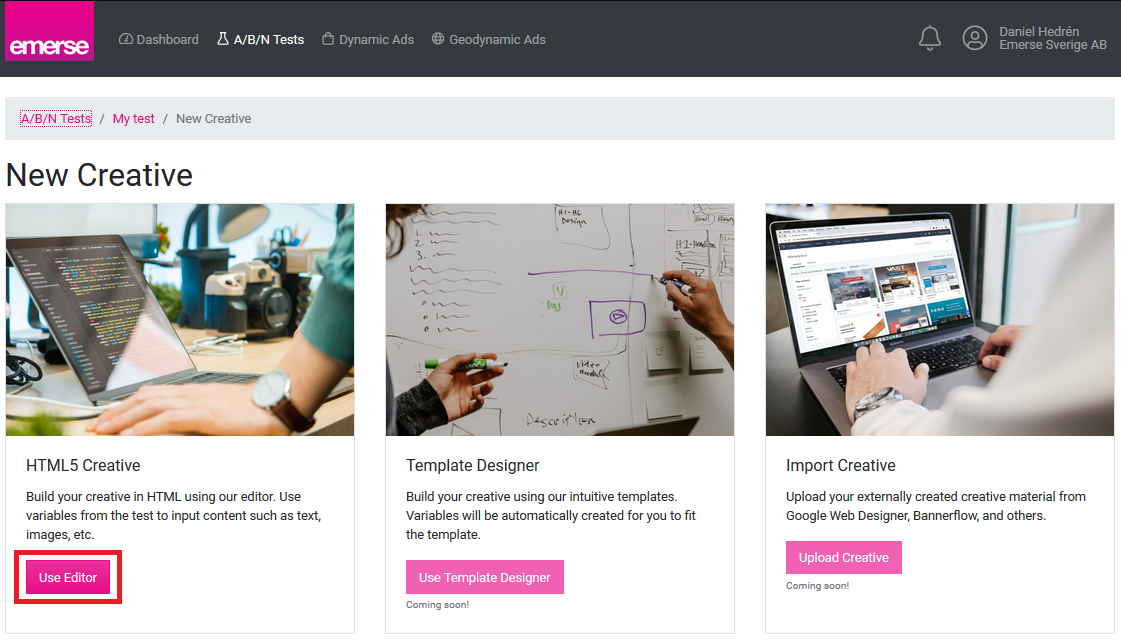
We will be using the editor here to show off the major features, but templates and creative uploads are also available.
Click Use Editor to proceed.
Creative upload
Additional information about uploading creatives is available here.
The HTML editor#
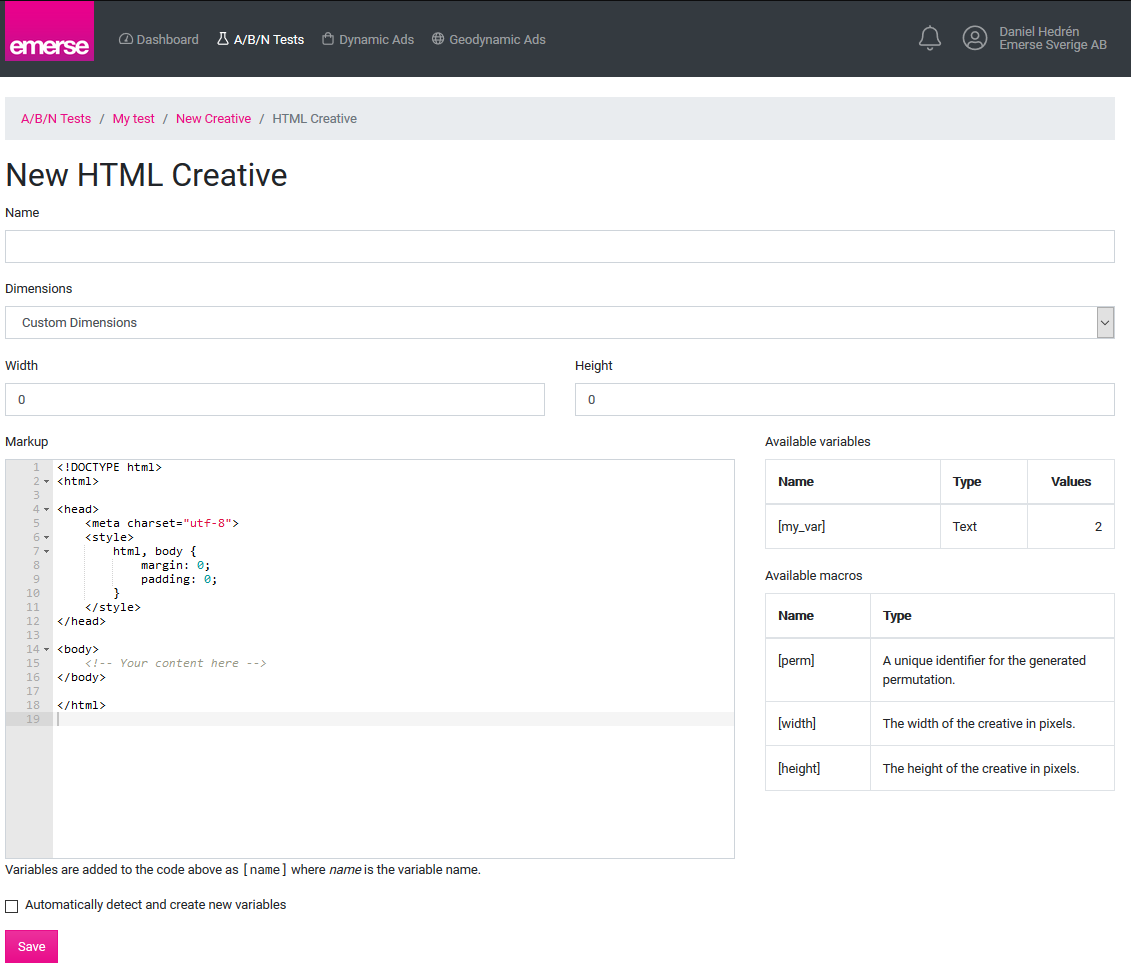
This is the HTML creative editor which is a powerful tool for editing creatives.
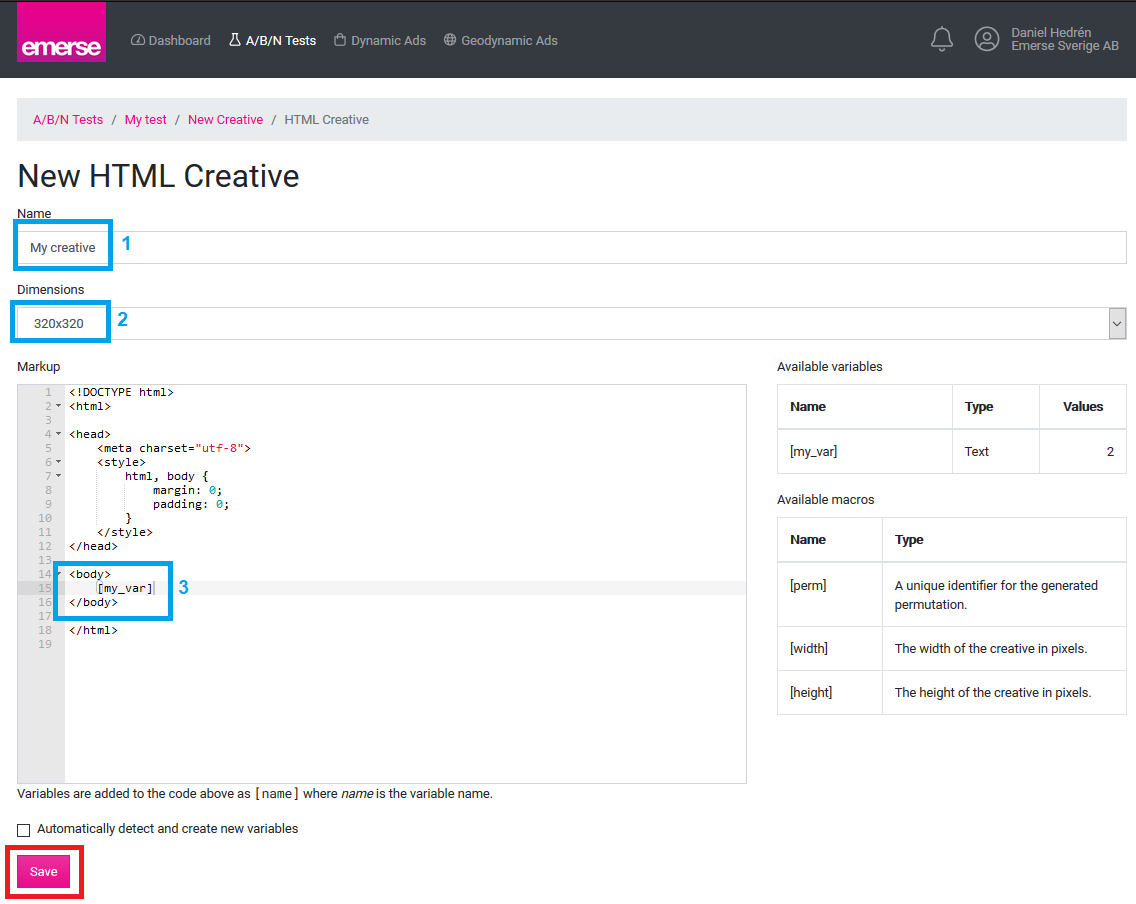
First, give the creative a name (1). Then, set the dimensions from one of the dropdown presets (2) or using custom dimensions.
Finally, input the HTML for the creative. This creative is going to display the variable we previously created in the HTML body, so we add [my_var] inside the <body> tag (3).
Click Save to proceed.
Preview creative#
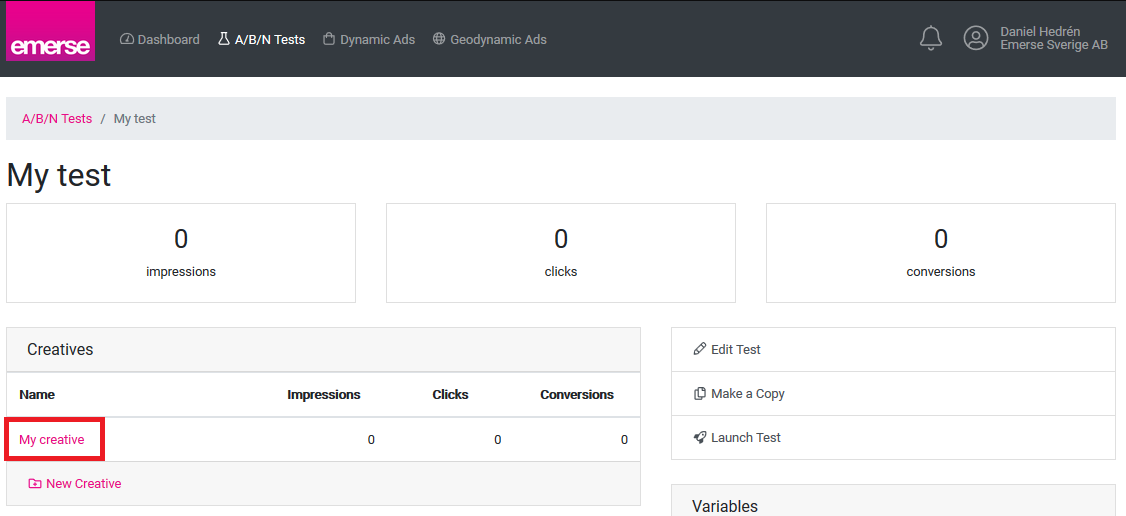
The new creative is now displayed in the list.
Click the creatives name, here My creative, to proceed.
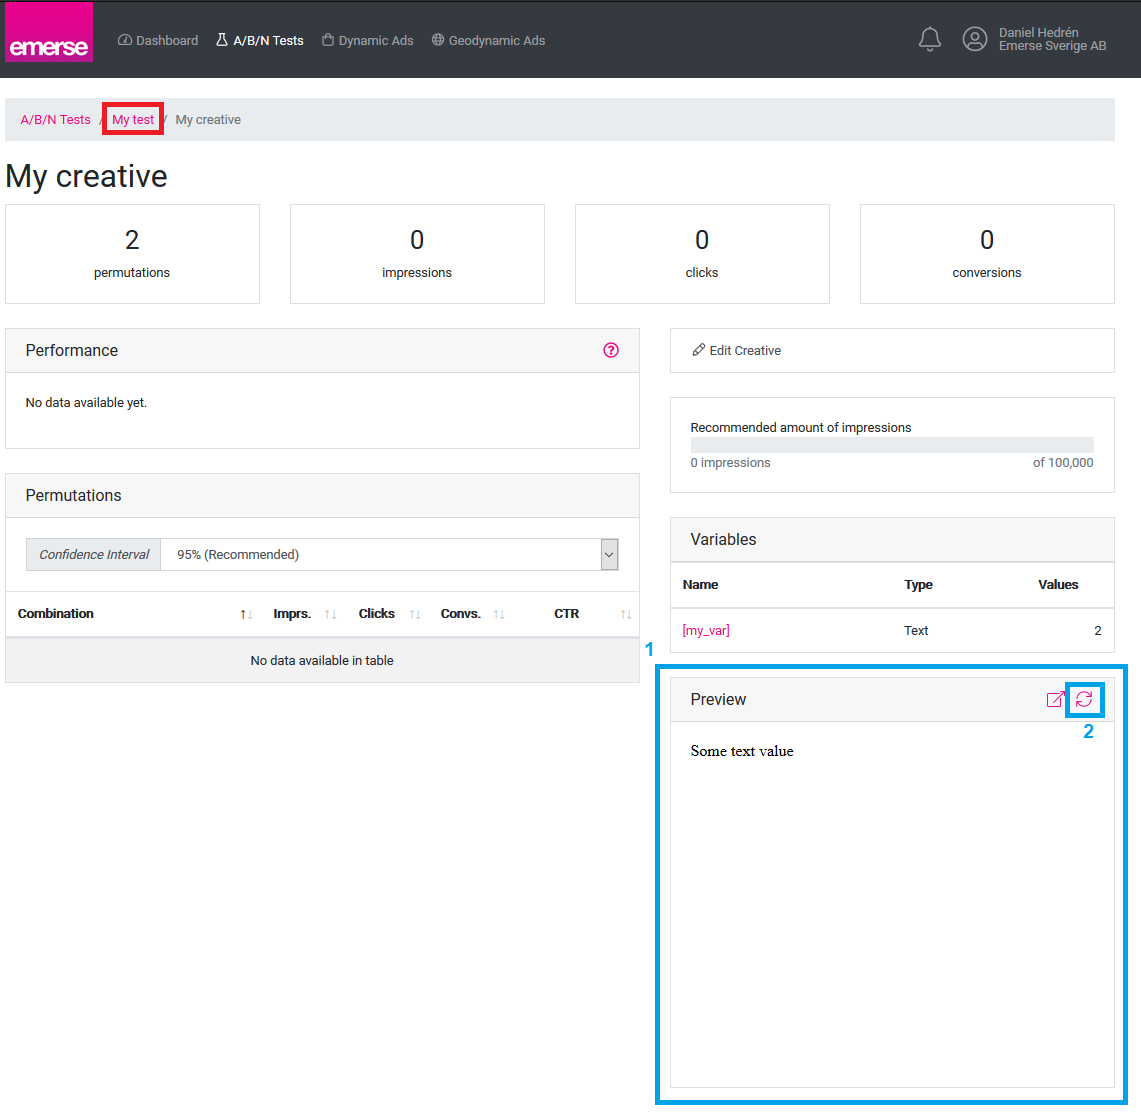
The creative preview (1) is displayed and shows our text variable at work. Clicking the refresh button (2) will load a random permutation.
Click the tests name in the breadcrumbs to head back to the test overview.
Launch the test#
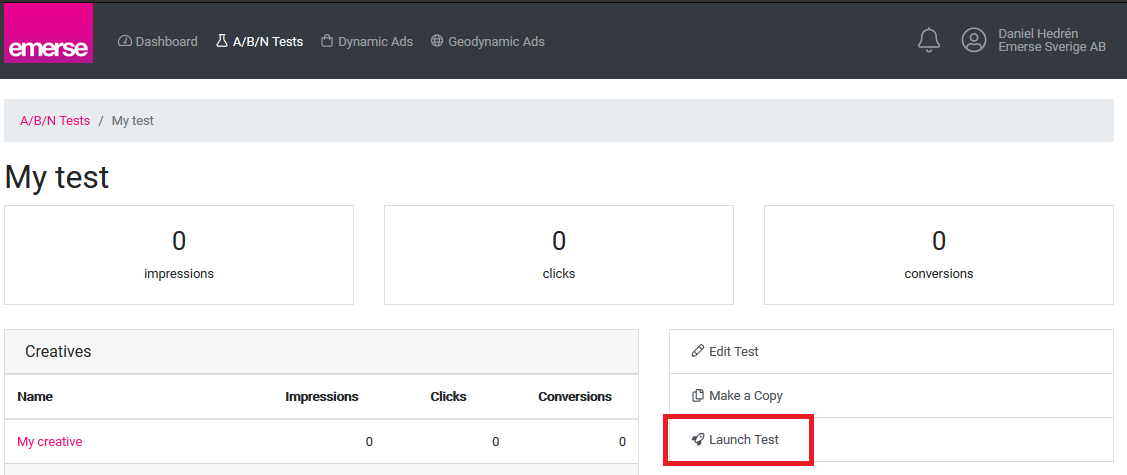
When you are satisfied with the way the creatives are set up, the only thing left to do is to launch the test.
Click Launch Test, and again Launch Test in the confirmation modal, to proceed.
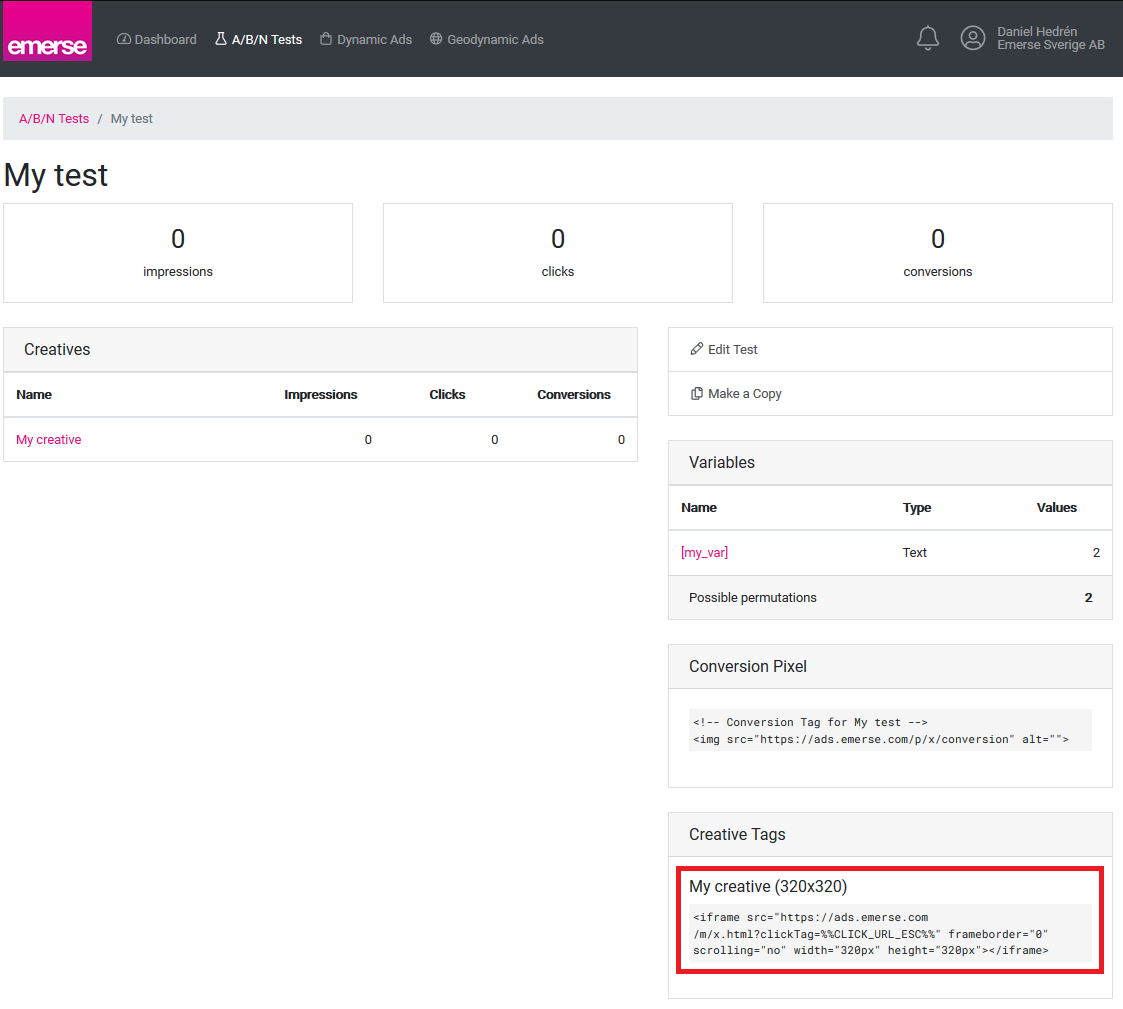
That is it! The creative tags are now ready to be served through whichever means you choose.